February 19, 2011

Friendship Party


Yesterday on our day of school Halle had a friendship party. Her friends and her had a fun time playing and making cupcackes. If you remember in my surprise cupcake post, I linked up our plan for the cupcakes (making faces like american girl article) Well they had a super fun time, and the cupcakes were adorable:
Posted by Picasa
Aren't they cute?
After making their cupcakes they made little pizzas and later they ate them at the cute little table. Take a look at these cute little favors we whipped up in 30 minutes


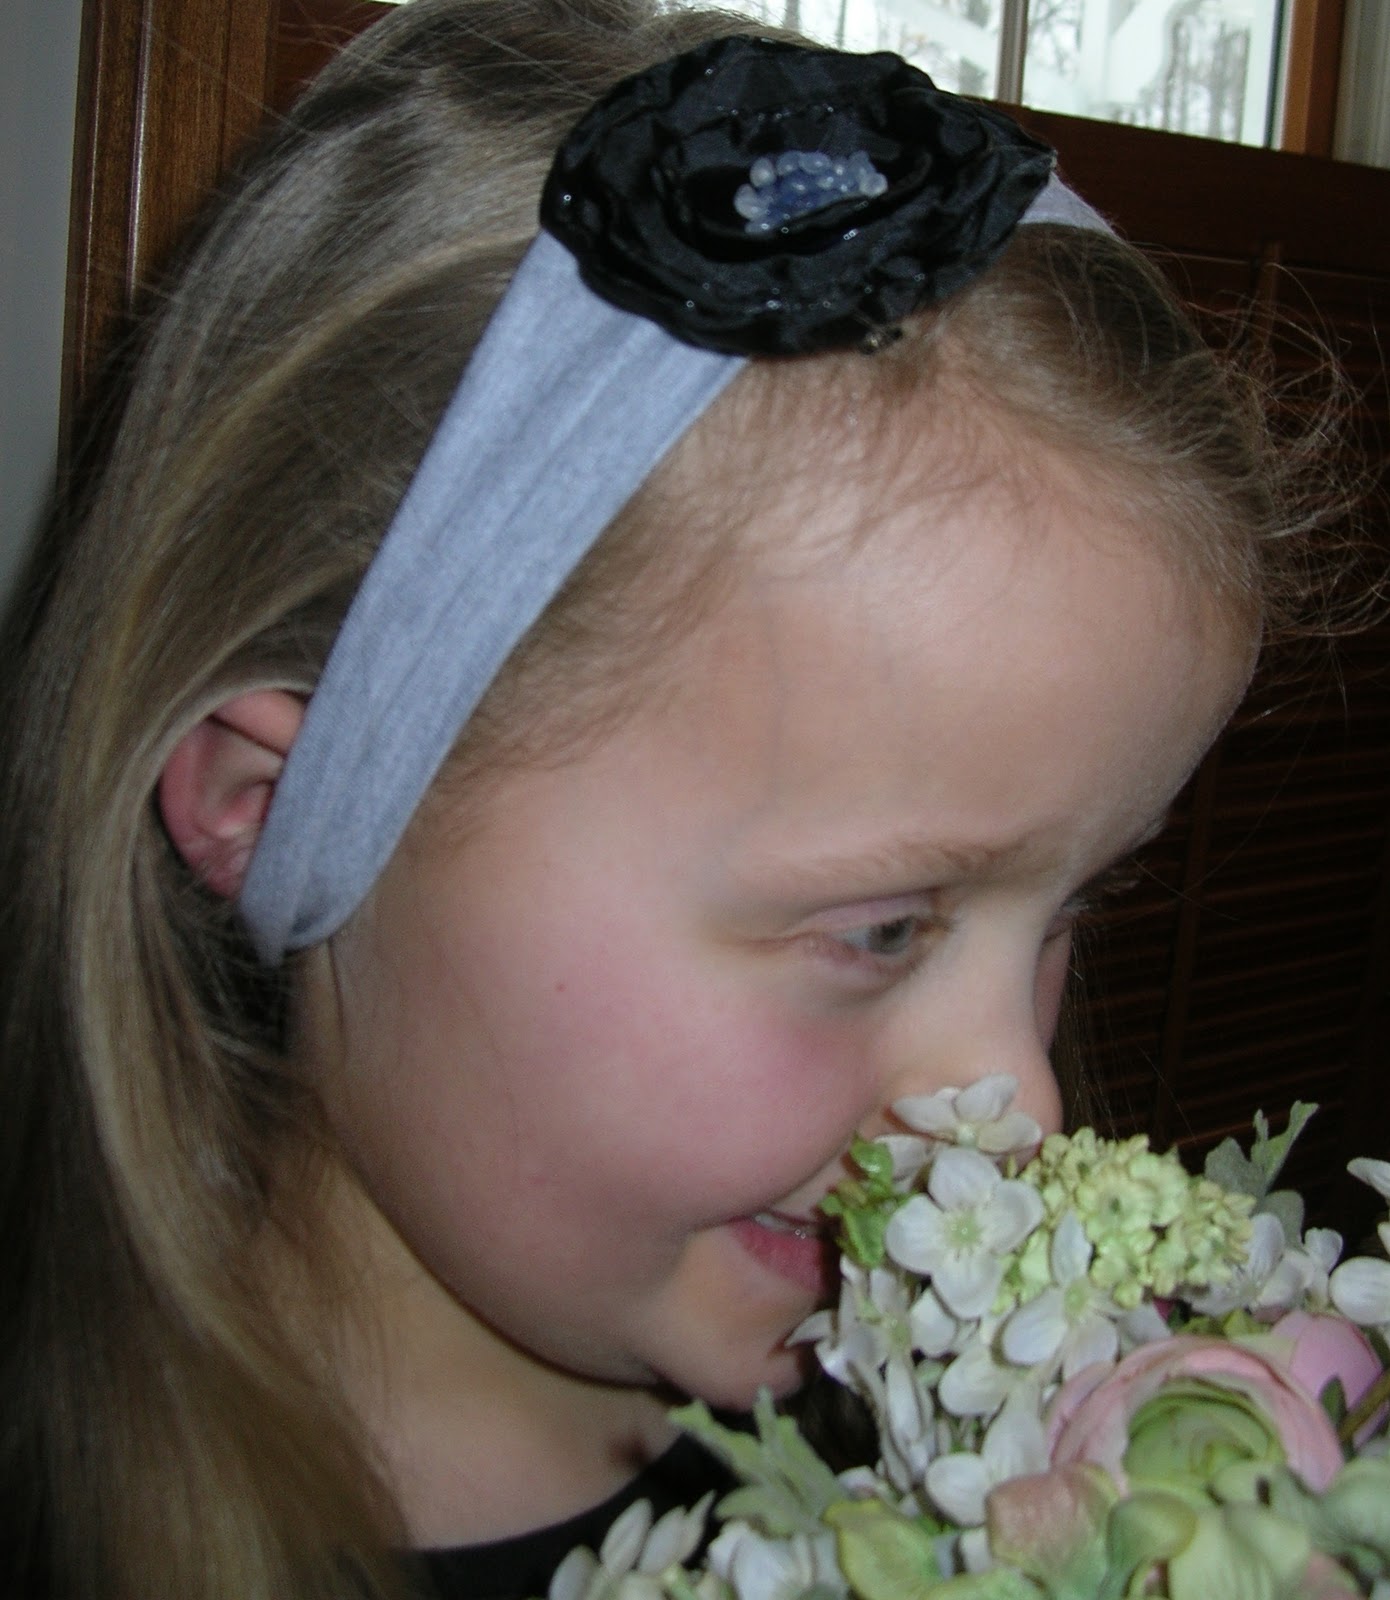
I simply used simple heart treat bags that we had left over from Halle's Valentines Party. We filled them with candy and secured at the top with a staple. I then made a simple satin flower, however instead of putting it on it a clip we secured it using a glue gun to an elastic pony tail holder. They turned out really cute and were extremley simple.

Here is a close up of the flower elastic.


Enjoy!

February 16, 2011

Yummy Brownie Pillow Cookies


Ok so these are really yummy! Imagine a cookie stuffed with you guessed it a brownie---Imagine no more with this recipe. To make things even better these are super easy! So here is the recipe:

1 brownie mix (prepared completely)

once mixed and in oven begin to prepare the following:

3 cups flour
1 t. baking soda
1 cup butter (softend)
1/4 cup sugar
3/4 cup brown sugar
1 t. vanilla
2 eggs
31/2 oz. instant vanilla pudding mix
12 oz. (2 cups) chocolate chips

Mix flour and baking soda ; set aside. Cream butter and sugars; add vanilla and eggs. Add pudding mix. Add Flour mixture. Stir in Chips.

Once brownies come out of oven cut into 1 inch squares (when I made they were uncooled) Surround brownie squares with about 1/4 cup of dough. Bake for 11 minutes.
They are really yummy warm and good cooled as well!
Cookie Dough...mmm...

 Here is the view from the bottom....mmm just looking at them makes me hungry.


February 8, 2011

Simple Surprise Cupcakes

Check out these cute and simple cupcakes.

Simple Surprise Cupcakes

This name definitly fits. They are simple and surprising.

-Your Favorite Cake Mix
-Your Favorite Cookie Dough (just refrigerated is what we used)
-Your Favorite Frosting

1) Prepare the cake mix according to the directions.

2) Line 24 Cupcake tins with wrappers.

3) Fill the wrappers about 1/3 full. Place a medium sized ball of cookie dough in the tin.Cover the top with another spoonful of batter.

4) Bake According to directions for 24 cupcakes.

5) Once Cooled frost with your favorite frosting.

So when you bite into the cake you find cookie dough....hence the name surprise.

Our family had mixed feelings about the cupcakes. Some Likes and some dislikes. Personally I feel that they are extremely rich...but none the less good.

However we have some big plans for these cupcakes. Halle is having a "friendship party" on presidents day and we plan to decorate them with the girls faces. Check out this link to American girl this is where we got the idea for them:

http://www.americangirl.com/fun/agmg/feature/mj10/?activity=frosted'

Enjoy!

February 3, 2011

Adorable Monkey Valentines

Check out these really cute Valentines. My Sister Halle decided to use this kit for her valentines this year and they are super cute. We purchased these kits at JoAnn's fabric and we changed them up a bit to make them a bit easier for Halle to make.


Part of the kits were self-stick. For the faces and gluing them to the pencil we used the glue gun. Then we simply made a tag on microsoft word reading:

Valentine- I'm Bananas About You!

It then had a spot for the to and from on the tag, we put a clip art of a bananna on it for appeal as well. They turned out really cute and were pretty simple.
Hope you enjoy these cute little guys!


February 2, 2011

Super Sweet Valentines Day Treat

For my sister's second grade Valentine's Day Party we decided to make these little cuties:
Currently I am in


with these cute little Snickerdoodle Tarts!


I am posting the recipe if you would like to try them out. They are super easy- a lot easier than cut-outs!

Snickerdoodle Tarts
(1 batch makes 4 Dozen)

For the dough:
1/2 c. Crisco
1/2 c. softened butter or margarine
11/2 c. sugar
2 eggs
23/4 c+ 2 T. Flour
2 t. cream of tartar
1/4 t. salt
1 t baking soda
Sugar

Blend Crisco, margarine, sugar and eggs until creamy. Sift dry ingredients and then add to creamed mixture. Chill 1 hour. Roll dough into balls and bake in mini tart liners(we use valentines day ones). Bake for 10 min. Keep in pan for 5 min. Then use a tart shaper to carefully press down the center (it is really important to let the tarts cool or the shaper will not work correctly.) Let Cool.

Piping:
1/3 c. Crisco
1/3 c. butter
1 egg
1 T. FLour
dash of salt
2 c. conf. sugar

-If you plan to generously fill the tarts like we do then you will need a double batch!

Mix together.You may add food coloring to tint for the season.  Pipe on to the fully cooled tarts. Sprinkle with holiday sprinkles if you wish.  


Snow Day Project: Satin Flower Clips Tutorial

I just love snowdays...they're absoulutley wonderful! But what is even more wonderful than the snow day, is what I created....

Satin Flower Hair Clips
They turned out absolutely adorable!  The best part is that they were super easy to make... and the supplies are pretty easy to find.

Actually we had left over satin from  lining a project. The Head band was one in our existing collection. As for the bean bag fill we used that for the center of the flower, you could also use beads, sequins or pearls for an extra touch.

So here is how we made them:
1) Cut out circles from the satin fabric. Make the largest circle around three inches in diameter and gradually let the circles get smaller.

2) Using a Lighter, carefully melt the edges of the satin circles. Be extremely carefull not to let the fabric on the flame too long as this can cause it to burn.  After a bit of practice, I got this step down. The lighter will cause the edges of the satin to curl up (and also seal the edge) for the desired effect.

3) With a glue gun carefully place a dot of glue in the center of each circle, affixing them from largest to smallest.

4) Place a large dot of glue in the center of the flower. Then sprinkle on the bean bag fill and push down to secure.
5) You may add a hair clip to the back like I did. This way I can easily switch the headbands, or just use it as a plain clip. However, you can choose to glue it to the headband using the glue gun.